Back to the seemingly endless Master Bathroom Project...  |
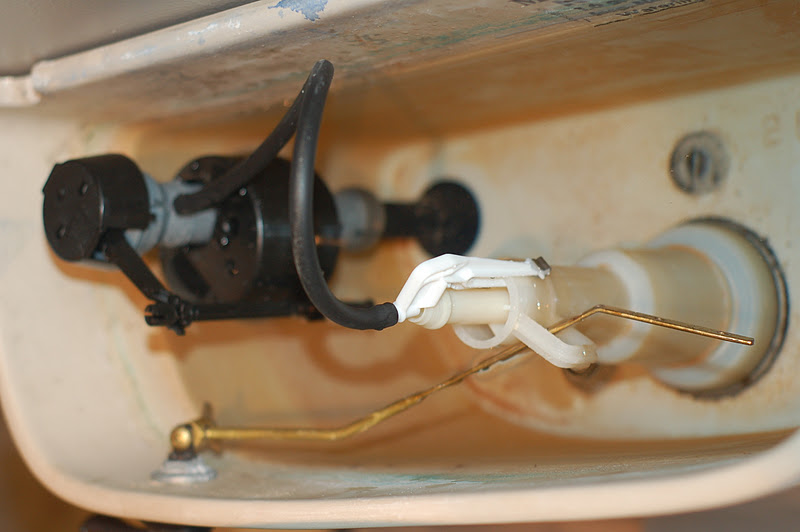
| Turn off the water supply at the shutoff valve and plug the drain opening with a rag to keep sewer gases in the pipes ( you will know if you forget this step) |
 |
| Wax Ring The "no-seep" wax ring size will vary with the size of the flange. Be sure to purchase the proper size. A 3-inch neck will fit a 3-inch closet elbow, and a 4-inch neck will fit a 4-inch closet elbow. If the closet elbow is 4 inches and the neck is 3 inches in diameter, purchase a 4×3 reducer. If the flange is positioned below floor level, buy a double-thick ring. |
 |
| If you're reusing the old flange, replace the 31⁄2-inch flange bolts. Purchase two 31⁄2-inch-long closet bolts. If you're replacing the flange, it must be screwed into a wooden floor. Use self-tapping concrete screws for concrete. |

 |
| Here Todd is spray painting the on/off valve and the toilet connector Install the Shut off Valve Set the valve over the compression ring and draw the nut to it. Tighten the nut until hand-tight. Use two adjustable wrenches to tighten until snug - one to hold back the valve and the other to tighten the compression nut. |

 |
| Place the wax ring on the flange Set the toilet over the anchor bolts and sit on the toilet, rocking it back and forth to seat the wax ring. Slip a washer over the closet bolt. With a wrench tighten the nuts against the washer. |
 |
| Silicone the toilet in place. We put a thin layer on the bottom of the toilet before placing it on the wax ring. Then Todd filled any gaps with a silicone filled syringe |
 |
| Once we had the toilet installed we realized that after being stored in the garage all winter the flush valve cracked so back to the hardware store where we purchased a Toilet Flush Valve Kit |