This moment has been almost a year in the making
 |
Bathroom vanity counter is made from bamboo hardwood floor
|
Look Back at the Entire DIY Bathroom Renovation
 |
Master Bath Before
My job is creating the design "Master Plan"
This bathroom is narrow so to open it up we will be removing walls and Shower insert
We removed the 1/4 wall to make the shower area larger
I decided on a tile shower and glass wall because Todd can make it look beautiful
We took out the wall, vanity and pedistal sink and will be inserting a custom vanity ( built by Todd)
With double vessel bowls and faucets mounted on the wall
Because of the room being narrow for the floor I chose a versailles pattern to give the look of length |
 Start Date December 27th 2010
Finish Date November 18th 2011
Start Date December 27th 2010
Finish Date November 18th 2011
(why so long? 4kids NO BABYSITTER...Full Time PRACTICE...DIY)
 |
The greenish yellow shower is now gone
He took out the wall separating the vanity and shower area
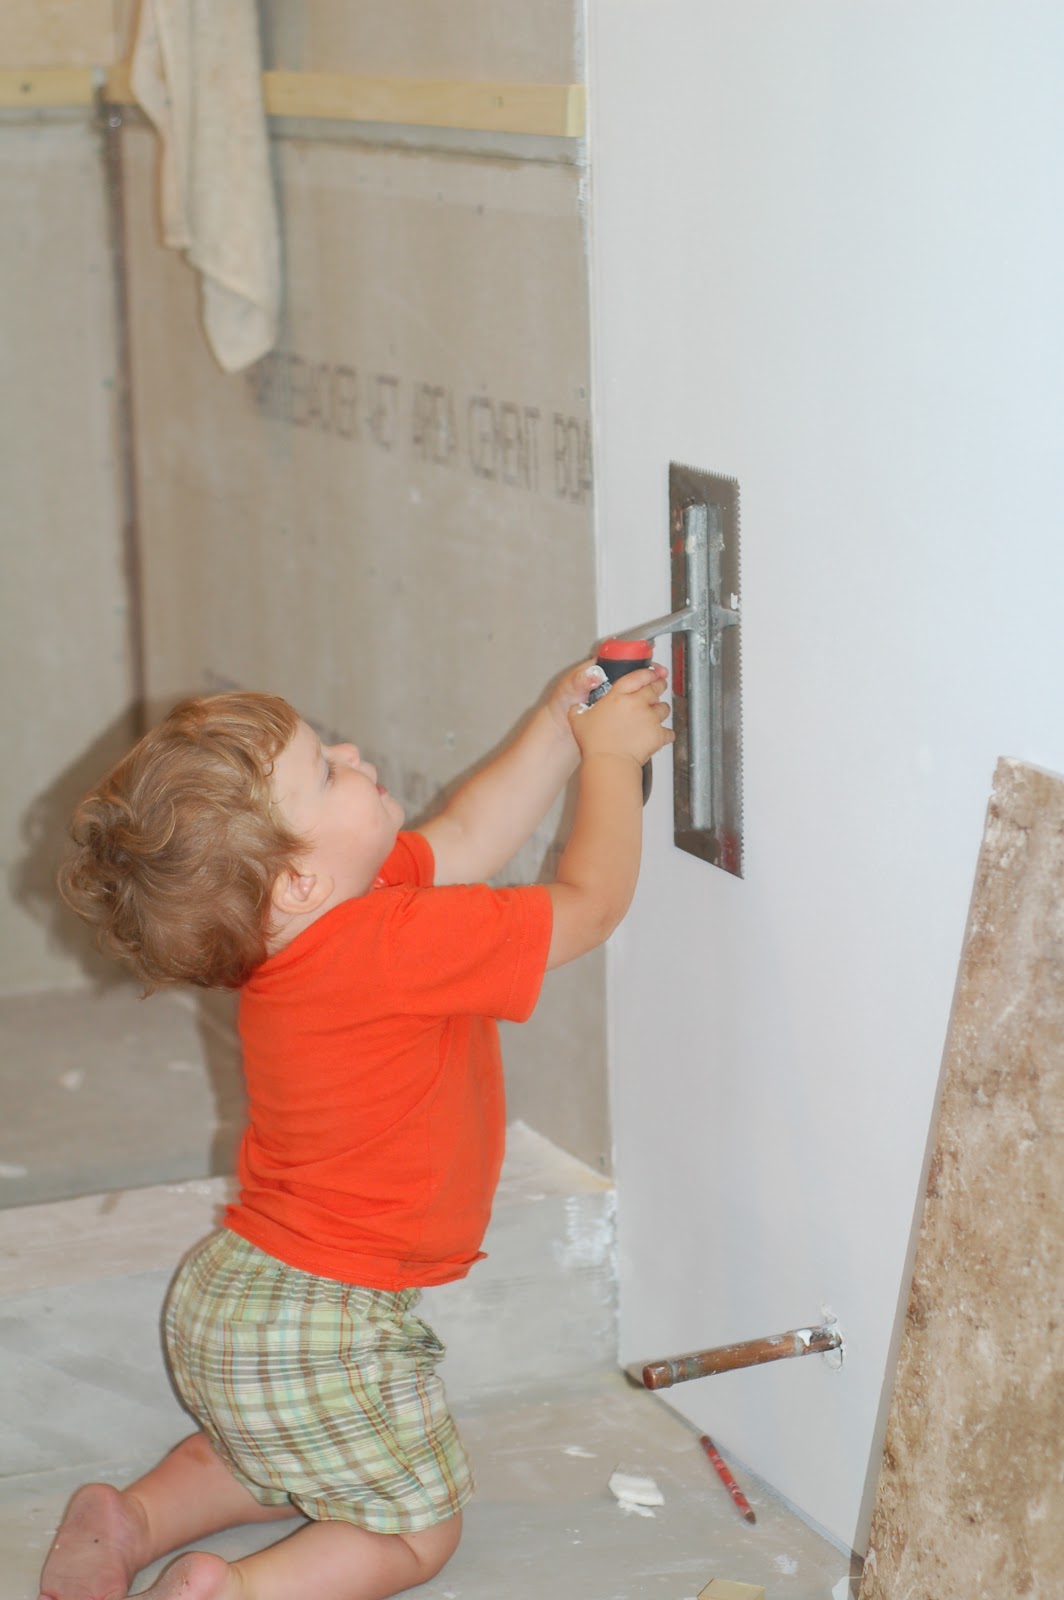
Some Drywall tools
Our Little Man Loves to Help
 |
| Drywall is one of the DIY projects Todd hates and would highly recommend having it hired out |
He Purchased a Do-It yourself drywall book
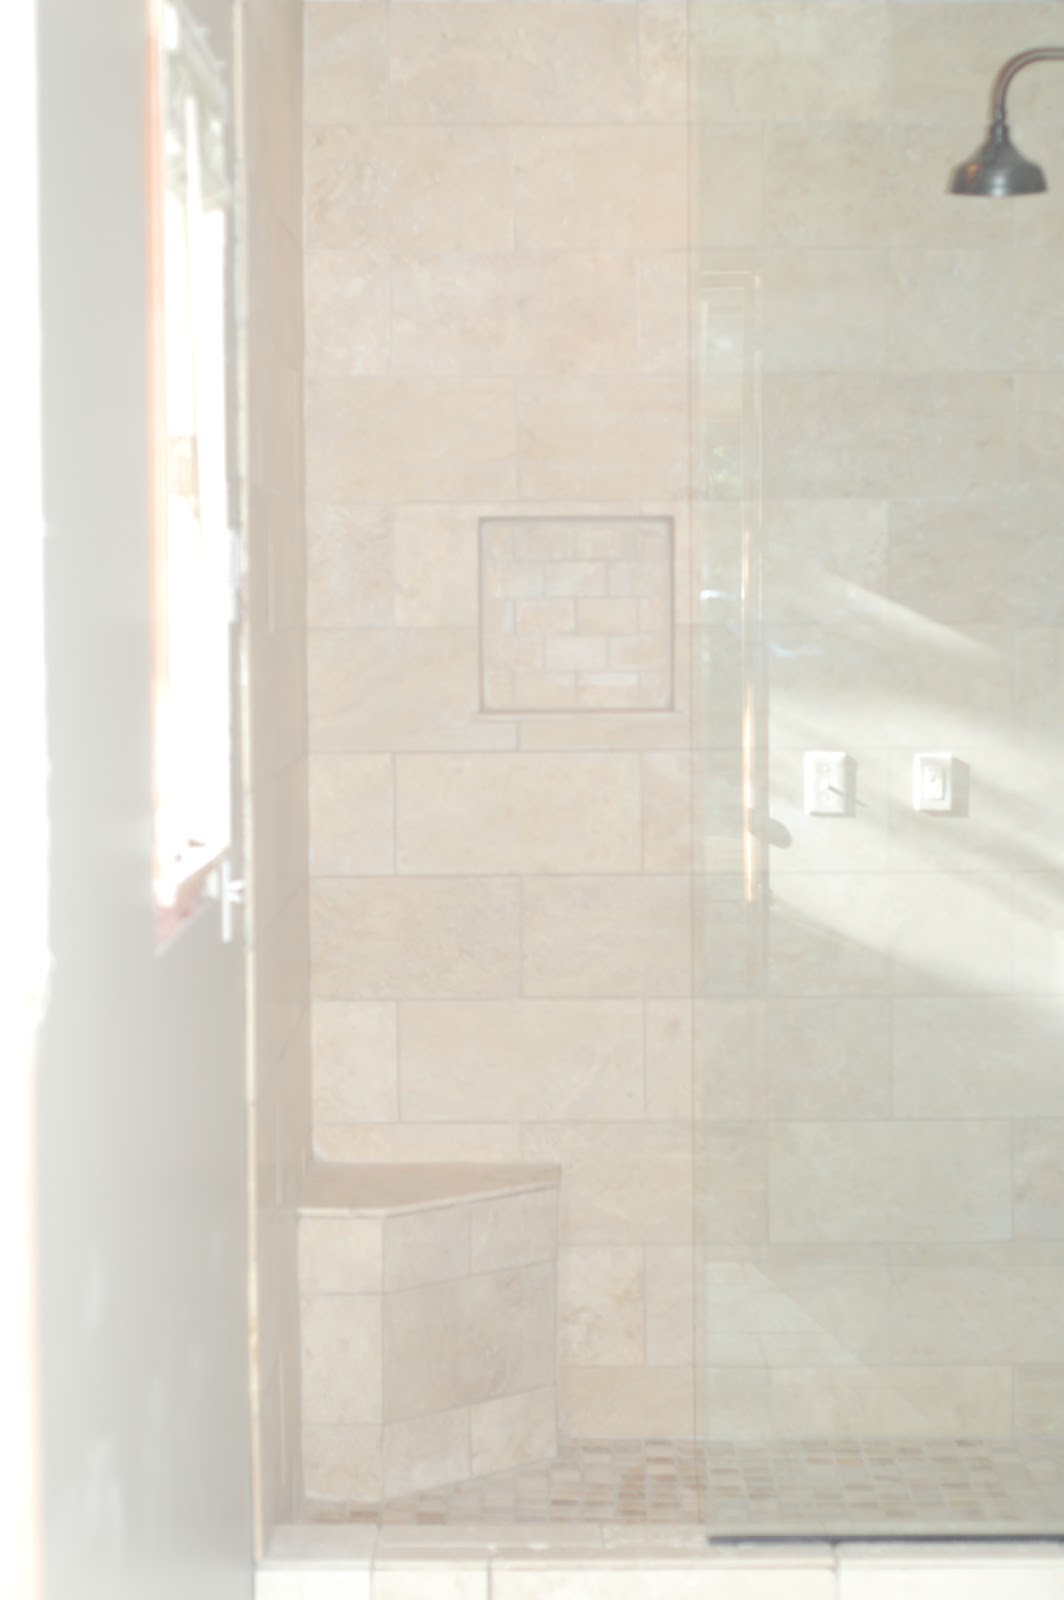
The shower
Chosen Shower tile from the Tile shop
Getting Ready to Tile
 |
RIDGID Wet Saw Utility Vehicle WS-UV
Highly recomend this tile saw |
 |
| Bosch tile blade |
 |
| The Audience |
 |
| Shower surrounded with Hardiebacker and Todd then screwed up wood trim pieces to hold the tile in place |
 |
| Most all projects take some beer motivation |
 |
| First Row |
 |
Pro-Flex Platinum Latex Fortified Thinset Mortar
Works great...Consistency of "peanut butter" |
 |
| Shower Floor |
 |
We found a use for painters tape that does not create another project
Use painters tape to hold tiles and spacers in place |
 |
| The Shower Floor and Bench have heated flooring installed |
9" Antique Bell Style Rainfall Shower Faucet purchased from one of our blogs advertisers " efaucets"
 |
| Oil rubbed bronze track was drilled into the shower curb and wall |
 |
| Tiled around the track |
 |
Todd numbered each cut tile to complete the exact cut tile pattern
We found painters tape works great for holding the tile and spacers in place |

 |
When choosing a paint color I tape the samples on the wall with painters tape and look at them for a week or two before I make a decision
We chose Ashes a medium grey
 |
| Remove all interior and exterior trim |
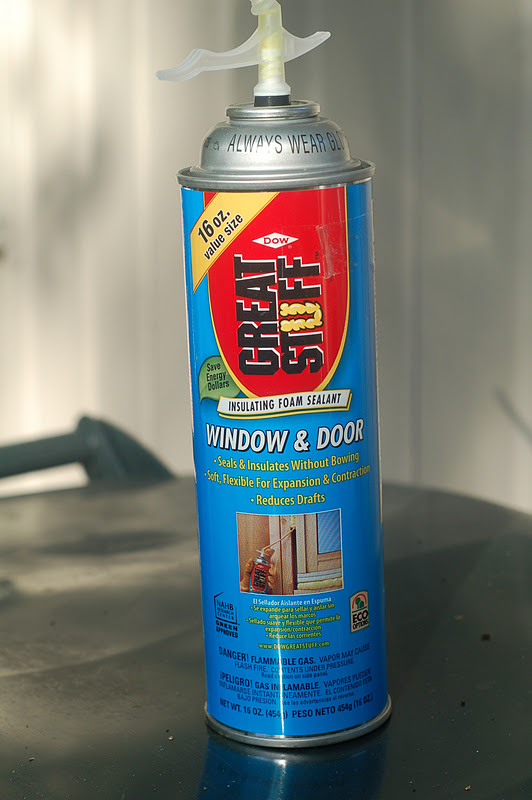
Purchased from Lowes Make sure to get the measurements right...
We used a spray foam to get an air tight seal
 |
| Drawing up the design for the window trim |
We used wood dowels and glue to hold the trim together
 |
| Spray paint Primer dries fast and is quick |
 |
Trying to decide on a pattern that would work with our bathroom dimensions. We laid it out first and measured before we started.
The Versailles pattern floor is great for remodeling projects because this tile is very forgiving if your walls are not perfectly square
In most old homes you will find this to be true. |
 |
Grout is still wet
Color Choice Mobe Pearl Sanded |
 |
| I would Highly recommend this floor! It is a timeless choice! |
 |
The pattern for our Versailles floor
Todd won this one with his first choice a Hampton Bay Light from Home Depot
$69.00 ( I think he liked the price)
There was an existing can light in the shower, so we simply just added a new trim piece and it looks new |
 |
This was a simple design to build
It just takes time. The benefits to custom design is getting more drawer space. Todd built four short drawers under the sink plumbing. Most of the vanities we looked at did not have that option if you wanted it to be open bottom.
And we could design it to the exact measurements of our bathroom |
 |
| Shelf for bottom of the vanity. Designed to be removed when cleaning the floors. |
 |
| Drilling the holes for the plumbing |
 |
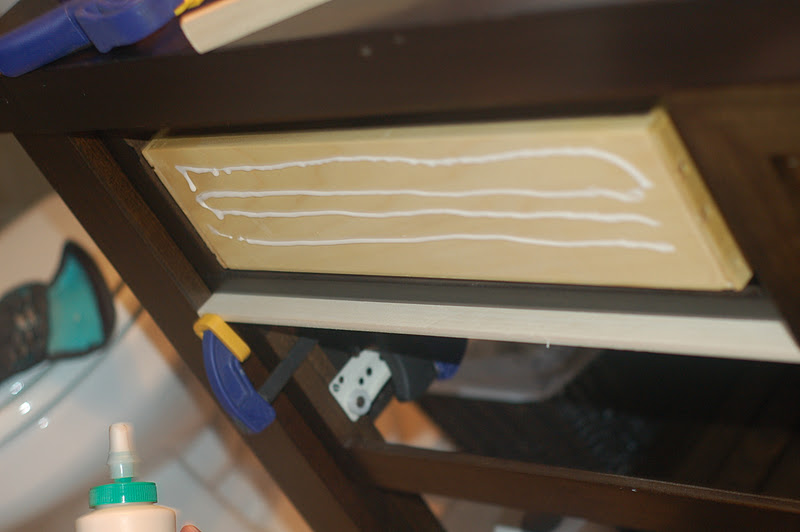
To glue on the shaker style drawer fronts we used Titebond, air nails,
and then the hardware to complete the support
|
 |
| A few nails for extra support |
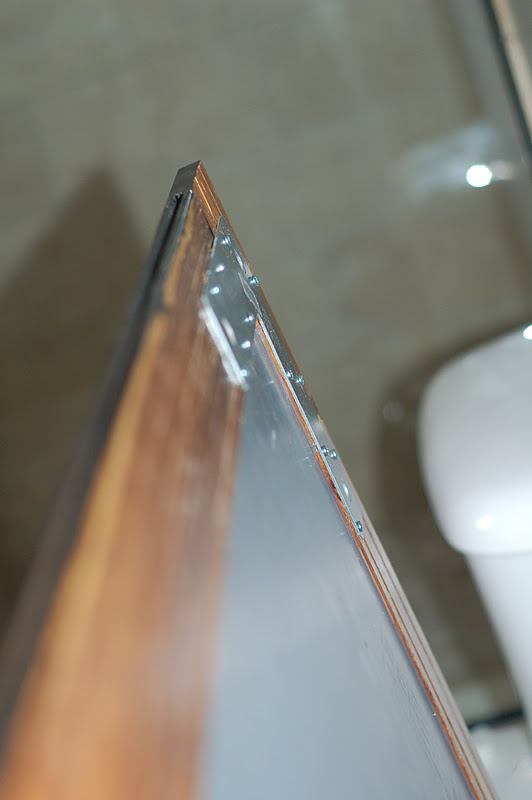
| For the mirror Frame we used Bamboo Hardwood Floor |
 |
| Once we had decided on the size and got the measurements it was time to cut |
 |
| Drilled holes for the faucets |
 |
| Titebond is the only wood glue Todd will use! |
 |
| Glue together the seams and clamp till dry |
 |
| He put silicone around the frame then we set in the mirror |
Brackets were used for addition strength to hold the mirror together While screwing on the brackets the tape Todd used to measure the depth slid and here was the result when we turned the mirror over...Back to step one...
 |
| Here we are with the newly made frame. Due to the design of the bathroom we desired to have the mirror up tight to the wall and secure. Todd pre drilled holes and screwed mirror to the studs then made plugs for the holes and used a stain pen to match the color |
 |
| Faucets are ready to be installed |
We Purchased the bowls and Faucets from overstock

 |
Turn off the water supply at the shutoff valve and plug the drain opening with a rag to keep sewer gases in the pipes
( you will know if you forget this step) |
 |
Wax Ring
The "no-seep" wax ring size will vary with the size of the flange. Be sure to purchase the proper size. A 3-inch neck will fit a 3-inch closet elbow, and a 4-inch neck will fit a 4-inch closet elbow. If the closet elbow is 4 inches and the neck is 3 inches in diameter, purchase a 4×3 reducer. If the flange is positioned below floor level, buy a double-thick ring. |
 |
| If you're reusing the old flange, replace the 31⁄2-inch flange bolts. Purchase two 31⁄2-inch-long closet bolts. If you're replacing the flange, it must be screwed into a wooden floor. Use self-tapping concrete screws for concrete. |
 |
Here Todd is spray painting the on/off valve and the toilet connector
Install the Shut off Valve
Set the valve over the compression ring and draw the nut to it.
Tighten the nut until hand-tight. Use two adjustable wrenches to
tighten until snug - one to hold back the valve and the other to tighten the compression nut. |
 |
Place the wax ring on the flange
Set the toilet over the anchor bolts and sit on the toilet, rocking it back and forth to seat the wax ring.
Slip a washer over the closet bolt. With a wrench tighten the nuts against the washer. |
 |
| Silicone the toilet in place. We put a thin layer on the bottom of the toilet before placing it on the wax ring. Then Todd filled any gaps with a silicone filled syringe |
 |
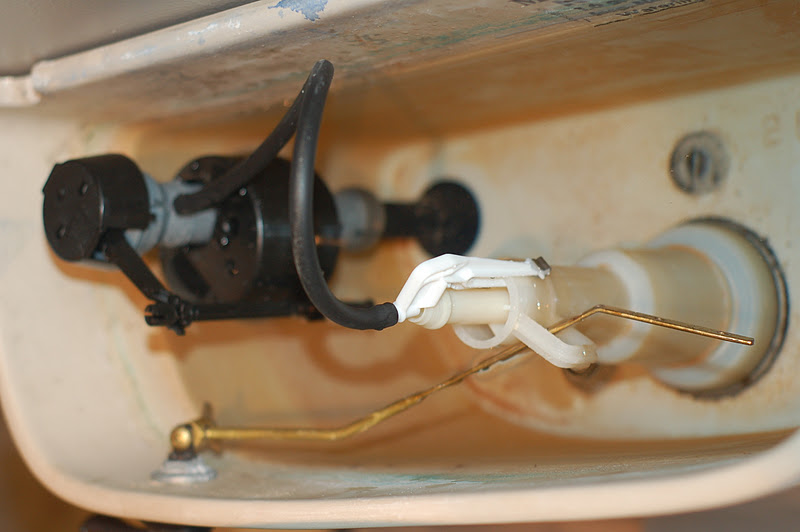
Once we had the toilet installed we realized that after being stored in the garage all winter the flush valve cracked
so back to the hardware store where we purchased a Toilet Flush Valve Kit |
|
|